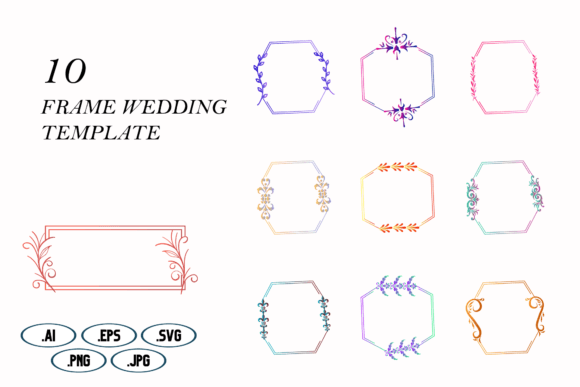
Frame Wedding Template: A Designer's Guide to Elegant Stationery
There's a particular moment in every wedding stationery project that feels like magic. It's when the typography, the layout, and the visual elements finally click into place, transforming a simple invitation into a keepsake. If you've ever struggled to find that perfect balance between classic elegance and modern clarity, you know the challenge. The search for a design asset that feels both timeless and fresh is over. This comprehensive Frame Wedding Template collection is engineered to be that missing piece, offering a versatile foundation for a wide array of creative projects that demand sophistication and a personal touch.
More Than Just an Invitation: The Anatomy of a Versatile Design Asset
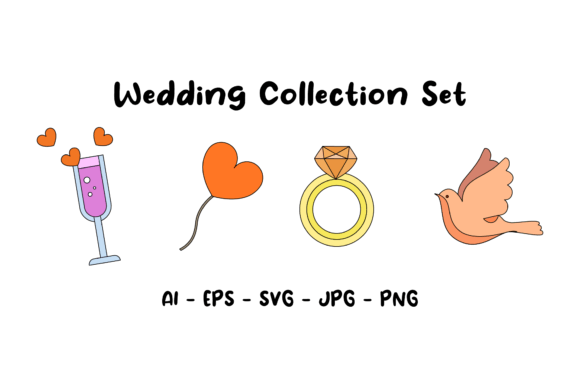
At its core, this template is a masterclass in balanced design. The central frame, often an ornate or minimalist border, acts as a visual anchor, drawing the eye inward to the most important information—the names, the date, the details. But its utility extends far beyond the traditional wedding invitation. Think of the frame as a versatile stage. Within its boundaries, you can showcase a logo for a boutique brand, present a special offer for a luxury product, or highlight a key quote for a blog header. The included AI, EPS, SVG, JPG, and PNG files ensure seamless integration into any workflow, whether you're working in Adobe Illustrator, Canva, Procreate, or any other design platform. This isn't just a static image; it's a fully editable design system ready for your creative direction.
Practical Applications Across the Creative Spectrum
The true value of a premium design asset is measured by its adaptability. Let's explore how this frame wedding template can elevate various projects:
- Brand Identity & Logo Design: For businesses in the wedding industry—planners, florists, photographers, or bakeries—this template offers a ready-made aesthetic. Use the frame to house your logo on business cards, thank-you notes, or social media profiles. It instantly communicates a sense of curated elegance and attention to detail, key components of a strong brand identity.
- Social Media Graphics & Digital Marketing: Create cohesive Instagram posts, Facebook event headers, or Pinterest pins that stand out. The frame provides a consistent structure for announcing sales, sharing testimonials, or promoting blog content. Pair it with a clean sans-serif font for a modern look or a flowing script font for added romance.
- Packaging & Merchandise: Imagine a gift box for artisanal chocolates, a candle label, or a tote bag design framed by this elegant border. It adds a layer of perceived value and craftsmanship, turning ordinary packaging into a memorable part of the customer experience.
- Editorial Layouts & Blog Design: Use the frame to accentuate pull quotes, chapter headings in an e-book, or featured images on a lifestyle blog. It breaks up text-heavy pages and adds visual interest, improving reader engagement and overall readability.
- Print Materials & Event Collateral: Beyond invitations, think menus, place cards, ceremony programs, and table numbers. Using the same frame template across all materials ensures visual consistency, tying the entire event aesthetic together seamlessly.
Achieving Visual Harmony: Pairing and Readability
While the frame provides the structure, the typography you choose gives it voice. This is where understanding font pairing becomes crucial. The frame's style—whether it's Art Deco, rustic, or minimalist—should guide your typographic choices. A ornate frame often pairs beautifully with a delicate serif font or an elegant script for headlines, complemented by a highly legible sans-serif for body text. For a modern, clean frame, consider a geometric sans-serif as your primary typeface. Always test your pairings at the actual size they will be used. What looks stunning on a large monitor might become an unreadable blur on a mobile screen or a small printed card. Prioritize clarity for the essential details—names, times, and locations—and reserve the more decorative fonts for accents.
From Digital File to Tangible Creation: A Practical Workflow
Getting started is straightforward. After downloading the five digital files, open the AI or EPS file in your preferred vector editing software. This allows you to fully customize colors, scale elements without quality loss, and edit individual paths. For those working in raster-based programs or online editors, the high-resolution PNG with a transparent background is your best friend. Here’s a simple process to follow:
- Customize the Frame: Adjust the stroke weight, color, or intricate details to match your project's palette.
- Place Your Content: Type your information within the frame's boundaries. Use guides to ensure perfect alignment and balance.
- Select Your Typography: Choose one primary font for headings and one secondary font for body text. Limit yourself to two or three font styles maximum to maintain professionalism.
- Test and Refine: Print a test copy or view the design on multiple devices. Check for readability, spacing, and overall visual impact. Is the hierarchy clear? Does the eye flow naturally to the most important information?
By treating this template as a starting point rather than a finished product, you unlock its full potential. It’s a tool for bringing your unique vision to life, ensuring that every project you undertake has a polished, professional foundation that resonates with your audience and strengthens your creative portfolio.